Fastapi 简明教程
FastAPI - Deployment
到目前为止,我们一直在使用本地开发服务器“Uvicorn”运行我们的 FastAPI 应用程序。为了使该应用程序公开可用,必须将其部署到具有静态 IP 地址的远程服务器上。可以使用免费计划或基于订阅的服务将其部署到不同的平台,例如 Heroku、Google Cloud、nginx 等。
So far, we have been using a local development server "Uvicorn" to run our FastAPI application. In order to make the application publicly available, it must be deployed on a remote server with a static IP address. It can be deployed to different platforms such as Heroku, Google Cloud, nginx, etc. using either free plans or subscription based services.
在本章中,我们将使用 Deta 云平台。其免费使用的部署服务非常易于使用。
In this chapter, we are going to use Deta cloud platform. Its free to use deployment service is very easy to use.
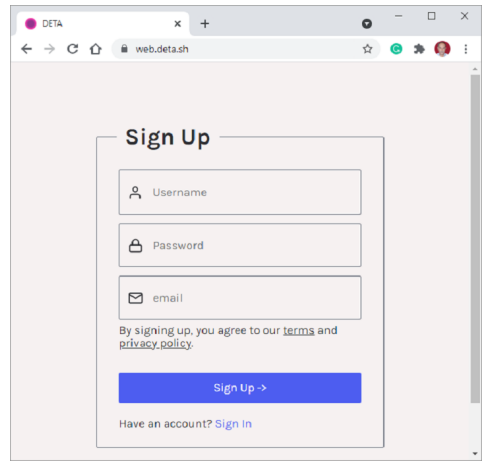
首先,要使用 Deta,我们需要在它的网站上使用合适的用户名和密码创建一个帐户。
First of all, to use Deta, we need to create an account on its website with a suitable username and password of choice.

创建帐户后,在本地计算机上安装 Deta CLI (命令行界面)。为您的应用程序(c:\fastapi_deta_app)创建一个文件夹如果您使用的是 Linux,请在终端中使用以下命令−
Once the account is created, install Deta CLI (command line interface) on the local machine. Create a folder for your application (c:\fastapi_deta_app) If you are using Linux, use the following command in the terminal −
iwr https://get.deta.dev/cli.ps1 -useb | iex如果您使用的是 Windows,请从 Windows PowerShell 终端运行以下命令−
If you are using Windows, run the following command from Windows PowerShell terminal −
PS C:\fastapi_deta_app> iwr https://get.deta.dev/cli.ps1 -useb | iex
Deta was installed successfully to
C:\Users\User\.deta\bin\deta.exe
Run 'deta --help' to get started
使用登录命令并验证您的用户名和密码。
Use the login command and authenticate your username and password.
PS C:\fastapi_deta_app> deta login
Please, log in from the web page. Waiting...
https://web.deta.sh/cli/60836
Logged in successfully.
在同一应用程序文件夹中,在 main.py 文件中创建一个极简的 FastAPI 应用程序
In the same application folder, create a minimal FastAPI application in *main.py*file
# main.py
from fastapi import FastAPI
app = FastAPI()
@app.get("/")
def read_root():
   return {"Hello": "World"}
@app.get("/items/{item_id}")
def read_item(item_id: int):
   return {"item_id": item_id}
现在我们准备部署我们的应用程序。从 PowerShell 终端中使用 deta new 命令。
Now we are ready to deploy our application. Use deta new command from the power shell terminal.
PS C:\fastapi_deta_app> deta new
Successfully created a new micro
{
   "name": "fastapi_deta_app",
   "id": "2b236e8f-da6a-409b-8d51-7c3952157d3c",
   "project": "c03xflte",
   "runtime": "python3.9",
   "endpoint": "https://vfrjgd.deta.dev",
   "region": "ap-southeast-1",
   "visor": "enabled",
   "http_auth": "disabled"
}
Adding dependencies...
…..
Installing collected packages: typing-extensions, pydantic, idna, sniffio, anyio, starlette, fastapi
Successfully installed anyio-3.4.0 fastapi-0.70.0 idna-3.3 pydantic-1.8.2 sniffio-1.2.0 starlette-0.16.0 typingextensions-4.0.0
Deta 在给定的端点(可能为每个应用程序随机创建)部署应用程序。它首先安装所需的依赖项,就像在本地计算机上安装一样。成功部署后,打开浏览器并访问端点键前面显示的 URL。 Swagger UI 文档也可以在 [role="bare"] [role="bare"]https://vfrigd.deta.dev/docs 中找到。
Deta deploys the application at the given endpoint (which may be randomly created for each application). It first installs the required dependencies as if it is installed on the local machine. After successful deployment, open the browser and visit the URL as shown in front of endpoint key. The Swagger UI documentation can also be found at [role="bare"]https://vfrigd.deta.dev/docs.
