Springmvc 简明教程
Spring MVC - Xml View Resolver Example
XmlViewResolver 用于使用在 xml 文件中定义的视图 bean 解析视图名称。以下示例演示了如何使用 Spring Web MVC 框架使用 XmlViewResolver。
The XmlViewResolver is used to resolve the view names using view beans defined in xml file. The following example shows how to use the XmlViewResolver using Spring Web MVC framework.
TestWeb-servlet.xml
<bean class = "org.springframework.web.servlet.view.XmlViewResolver">
   <property name = "location">
      <value>/WEB-INF/views.xml</value>
   </property>
</bean>
views.xml
<bean id = "hello"
   class = "org.springframework.web.servlet.view.JstlView">
   <property name = "url" value = "/WEB-INF/jsp/hello.jsp" />
</bean>
例如,使用以上配置,如果请求 URI −
For example, using the above configuration, if URI −
-
/hello is requested, DispatcherServlet will forward the request to the hello.jsp defined by bean hello in the view.xml.
首先,让我们准备好一个运行的 Eclipse IDE,然后按以下步骤使用 Spring Web Framework 开发一个基于动态表单的 Web 应用程序。
To start with, let us have a working Eclipse IDE in place and stick to the following steps to develop a Dynamic Form based Web Application using the Spring Web Framework.
Step |
Description |
1 |
Create a project with a name TestWeb under a package com.tutorialspoint as explained in the Spring MVC - Hello World chapter. |
2 |
Create a Java class HelloController under the com.tutorialspointpackage. |
3 |
Create a view file hello.jsp under the jsp sub-folder. |
4 |
Download JSTL library jstl.jar. Put it in your CLASSPATH. |
5 |
The final step is to create the content of the source and configuration files and export the application as explained below. |
HelloController.java
package com.tutorialspoint;

import org.springframework.stereotype.Controller;
import org.springframework.web.bind.annotation.RequestMapping;
import org.springframework.web.bind.annotation.RequestMethod;
import org.springframework.ui.ModelMap;

@Controller
@RequestMapping("/hello")
public class HelloController{

   @RequestMapping(method = RequestMethod.GET)
   public String printHello(ModelMap model) {
      model.addAttribute("message", "Hello Spring MVC Framework!");

      return "hello";
   }

}
TestWeb-servlet.xml
<beans xmlns = "http://www.springframework.org/schema/beans"
   xmlns:context = "http://www.springframework.org/schema/context"
   xmlns:xsi = "http://www.w3.org/2001/XMLSchema-instance"
   xsi:schemaLocation = "
   http://www.springframework.org/schema/beans
   http://www.springframework.org/schema/beans/spring-beans-3.0.xsd
   http://www.springframework.org/schema/context
   http://www.springframework.org/schema/context/spring-context-3.0.xsd">

   <context:component-scan base-package = "com.tutorialspoint" />

   <bean class = "org.springframework.web.servlet.view.XmlViewResolver">
      <property name = "location">
         <value>/WEB-INF/views.xml</value>
      </property>
   </bean>
</beans>
views.xml
<beans xmlns = "http://www.springframework.org/schema/beans"
   xmlns:context = "http://www.springframework.org/schema/context"
   xmlns:xsi = "http://www.w3.org/2001/XMLSchema-instance"
   xsi:schemaLocation = "
   http://www.springframework.org/schema/beans
   http://www.springframework.org/schema/beans/spring-beans-3.0.xsd
   http://www.springframework.org/schema/context
   http://www.springframework.org/schema/context/spring-context-3.0.xsd">

   <bean id = "hello"
      class = "org.springframework.web.servlet.view.JstlView">
      <property name = "url" value = "/WEB-INF/jsp/hello.jsp" />
   </bean>
</beans>
hello.jsp
<%@ page contentType = "text/html; charset = UTF-8" %>
<html>
   <head>
      <title>Hello World</title>
   </head>
   <body>
      <h2>${message}</h2>
   </body>
</html>
一旦创建完源文件和配置文件,导出您的应用程序。右键单击应用程序,使用 Export → WAR File 选项,并将 HelloWeb.war 文件保存到 Tomcat 的 webapps 文件夹中。
Once you are done with creating source and configuration files, export your application. Right click on your application, use Export → WAR File option and save the HelloWeb.war file in Tomcat’s webapps folder.
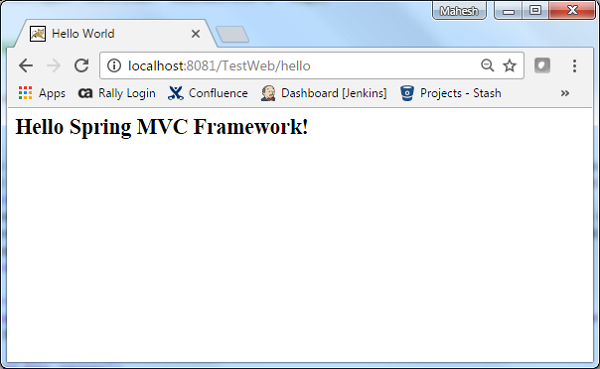
现在,启动 Tomcat 服务器并确保你可以使用标准浏览器访问 webapps 文件夹中的其他网页。尝试访问 URL − http://localhost:8080/HelloWeb/hello ,如果 Spring Web 应用程序一切正常,我们将看到以下界面。
Now, start your Tomcat server and make sure you are able to access other webpages from the webapps folder using a standard browser. Try to access the URL − http://localhost:8080/HelloWeb/hello and if everything is fine with the Spring Web Application, we will see the following screen.