Matplotlib 简明教程
Matplotlib - Scroll Event
通常, scroll event 将发生在用户与鼠标滚轮交互时。鼠标中间的滚轮用于在任何页面上上下滚动,而无需使用文档或网页右侧的垂直滚动条。在本教程中,我们将探讨 Matplotlib 中的滚动事件处理。
In general, a scroll event occurs when a user interacts with the mouse scroll wheel. The scroll wheel that is located in the middle of the mouse is used to scroll up and down on any page without using the vertical scroll bar on the right hand side of a document or webpage. In this tutorial, we will explore about the scroll event handling in Matplotlib.
Scroll event in Matplotlib
Matplotlib 提供了一种通过 MouseEvent 类处理滚动事件的机制。当用户滚动鼠标滚轮时,将触发这个 scroll_event 事件。这用于提供交互式导航或在绘图内缩放的机制。
Matplotlib provides a mechanism for handling the scroll events through MouseEvent class. This scroll_event event is triggered when a user rolled the mouse scroll wheel. Which is used for providing a mechanism for interactive navigation or zooming within plots.
Example
import matplotlib.pyplot as plt
import numpy as np

def on_scroll(event):
   if event.button == 'up':
      print('Scroll Up Event Triggered..')
   elif event.button == 'down':
      print('Scroll Down Event Triggered..')

# Create a figure and axis
fig, ax = plt.subplots()
ax.text(0.13, 0.5, 'Scroll Mouse Wheel on me!', dict(size=20))

# Connect the on_scroll method to the scroll_event
fig.canvas.mpl_connect('scroll_event', on_scroll)

plt.show()
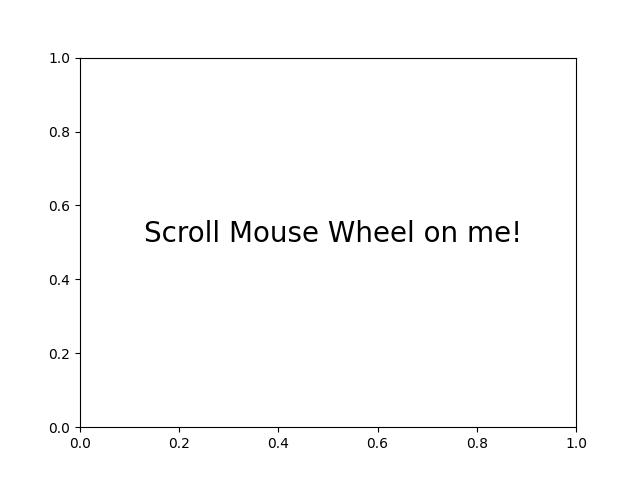
执行上述代码,我们将得到以下输出 −
On executing the above code we will get the following output −

Scroll Up Event Triggered..
Scroll Up Event Triggered..
Scroll Down Event Triggered..
Scroll Up Event Triggered..
Scroll Down Event Triggered..
Scroll Up Event Triggered..
Scroll Up Event Triggered..
观看下面的视频,了解此滚动事件功能在此处的工作原理。
Watch the video below to observe how the this scroll event feature works here.

Zooming with Scroll Event
Matplotlib 中的滚动事件可用于动态缩放绘图。通过将滚动事件连接到可调用函数,用户可以在绘图中动态调整视图。
Scroll events in Matplotlib can be used for dynamically zooming the plots. By connecting the scroll event to a callable function, users can dynamically adjust the view within a plot.
Example
让我们看一个演示如何使用滚动事件实现缩放功能的示例。
Let’s see an example that demonestrates how to implement zoom functionality using the scroll event.
import matplotlib.pyplot as plt

def zoom_factory(axs, base_scale=2.):
   def zoom_fun(event):
      # get the current x and y limits
      cur_xlim = axs.get_xlim()
      cur_ylim = axs.get_ylim()
      cur_xrange = (cur_xlim[1] - cur_xlim[0]) * 0.2
      cur_yrange = (cur_ylim[1] - cur_ylim[0]) * 0.2

      # get event x location
      xdata = event.xdata
      ydata = event.ydata

      if event.button == 'up':
         # deal with zoom in
         scale_factor = 1/base_scale
      elif event.button == 'down':
         # deal with zoom out
         scale_factor = base_scale
      else:
         # deal with something that should never happen
         scale_factor = 1
         print(event.button)

      # set new limits
      axs.set_xlim([xdata - cur_xrange*scale_factor,
         xdata + cur_xrange*scale_factor])
      axs.set_ylim([ydata - cur_yrange*scale_factor,
         ydata + cur_yrange*scale_factor])

      # force re-draw
      plt.draw()

   # get the figure of interest
   fig = axs.get_figure()

   # Connect the call back function to the scroll_event
   fig.canvas.mpl_connect('scroll_event', zoom_fun)

   # return the function
   return zoom_fun

# Example Usage
fig, axs = plt.subplots(figsize=(7, 4))
axs.plot(range(100))
scale = 1.5
f = zoom_factory(axs, base_scale=scale)
plt.show()
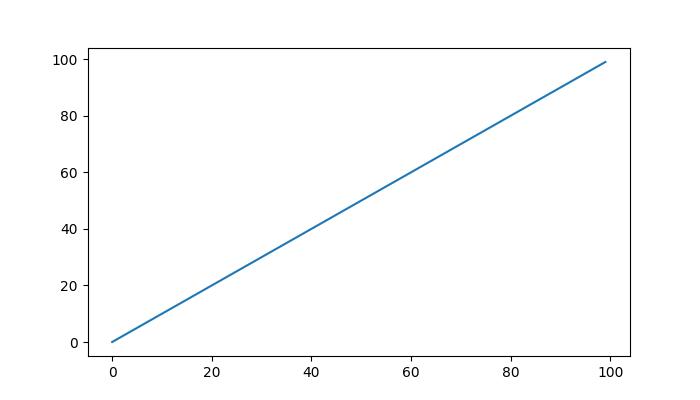
执行上述程序后,您将获得以下图形,滚动鼠标滚轮以观察该绘图中的缩放效果 −
On executing the above program you will get the following figure roll the mouse scroll wheel to observe the Zooming effect in this plot −

观看下面的视频,了解此滚动事件功能在此处的工作原理。
Watch the video below to observe how the this scroll event feature works here.

Interactive Scrolling through Images
Matplotlib 中的滚动事件还可用于以交互方式滚动一系列图像。当浏览多维数据集或图像集合时,此功能特别有用。
The scroll event in Matplotlib can also be applied to interactively scroll through a series of images. This feature is particularly useful when navigating through multi-dimensional datasets or a collection of images.
Example
此示例创建了一个 IndexTracker 类以使用滚动事件浏览一系列 2D 切片。 on_scroll 方法根据滚动方向调整索引,然后更新并显示图像。
This example, creates a class IndexTracker to navigate through a series of 2D slices using the scroll event. The on_scroll method adjusts the index based on the scroll direction, then it updates and displayed image.
import matplotlib.pyplot as plt
import numpy as np

class IndexTracker:
   def __init__(self, axs, X):
      self.index = 0
      self.X = X
      self.axs = axs
      self.im = axs.imshow(self.X[:, :, self.index])
      self.update()

   def on_scrolling(self, event):
      print(event.button, event.step)
      increment = 1 if event.button == 'up' else -1
      maxs_index = self.X.shape[-1] - 1
      self.index = np.clip(self.index + increment, 0, maxs_index)
      self.update()

   def update(self):
      self.im.set_data(self.X[:, :, self.index])
      self.axs.set_title(
         f'Use scroll wheel to navigate\nindex {self.index}')
      self.im.axes.figure.canvas.draw()

# 3D data
x, y, z = np.ogrid[-25:25:100j, -25:25:100j, 1:50:100j]
X = np.sin(x * y * z) / (x * y * z)

# Create a figure
fig, axs = plt.subplots()
tracker = IndexTracker(axs, X)

fig.canvas.mpl_connect('scroll_event', tracker.on_scrolling)
plt.show()
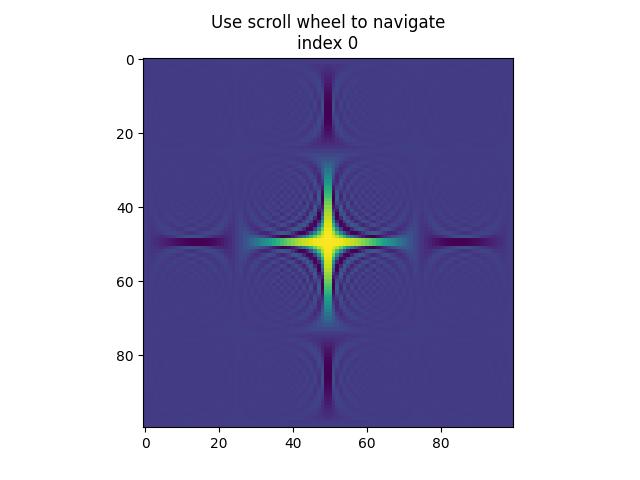
执行以上的程序,你将获得以下此例可观察操作的滚动图 −
On executing the above program you will get the following figure roll the mouse scroll wheel to observe working of this example −

up 1.0
up 2.0
down -1.0
down -2.0
down -1.0
up 1.0
up 1.0
down -1.0
down -1.0
up 1.0
up 3.0
down -1.0
down -3.0
观看下面的视频,了解此滚动事件功能在此处的工作原理。
Watch the video below to observe how the this scroll event feature works here.
